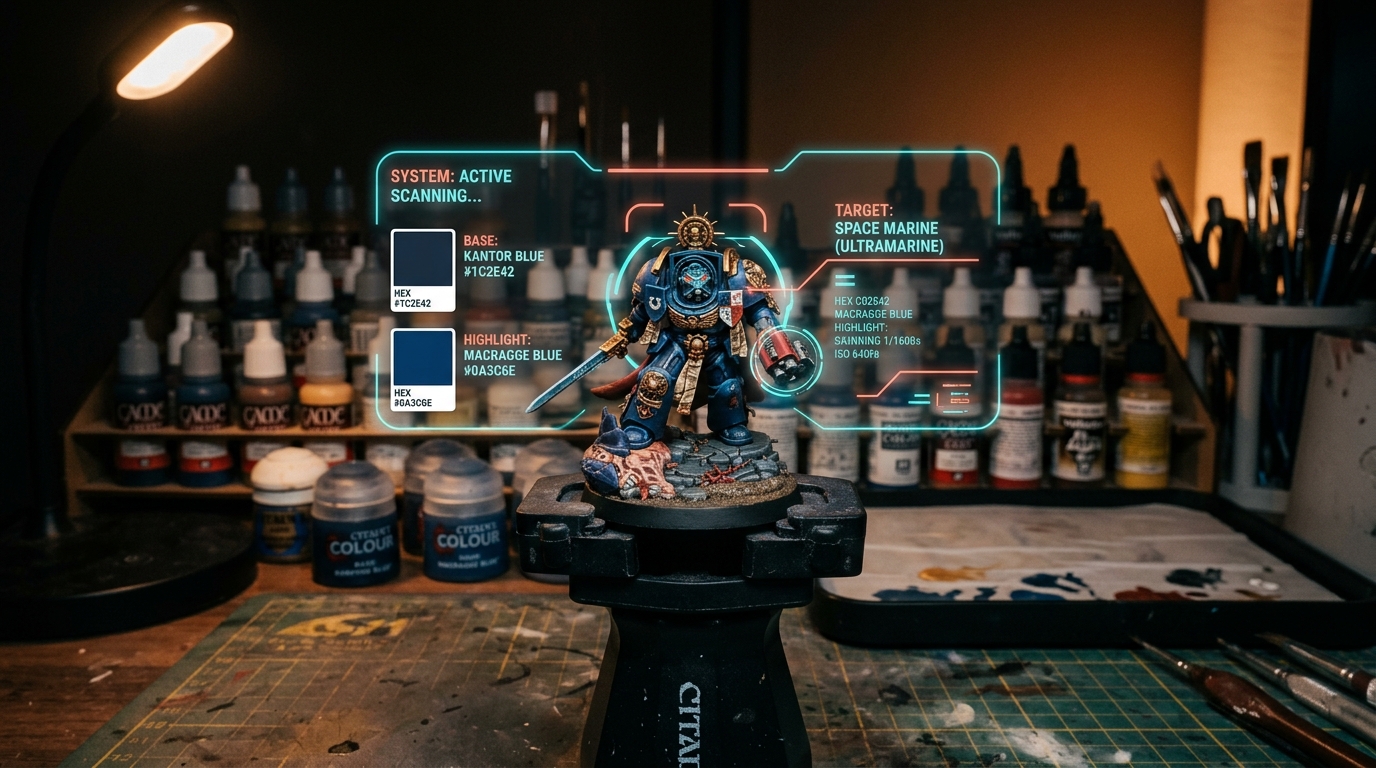
Choose your blue armour paints
For this example, set out Macragge Blue for the main armour, Kantor Blue for selective shadows, Altdorf Guard Blue for raised areas, and Calgar Blue for sharper highlights. A small final accent of Fenrisian Grey is optional. This is a suggested recipe, not a claim to reproduce a particular studio miniature.
These colours have a documented place in Ultramarine painting: a Warhammer Community painter used Macragge Blue with successive Altdorf Guard Blue, Calgar Blue, and Fenrisian Grey highlights. You can simplify that progression for gaming models.
Build a smooth basecoat
Prepare and prime the model following the primer’s instructions. On the palette, add a little thinner to your base paint and test a stroke on spare primed material. Aim for a film that spreads without leaving ridges or running into every recess. There is no single water ratio that suits every bottle, brush, and room.
Apply the first coat, let it dry, and inspect coverage before adding another. Patchy coverage calls for another controlled coat; a thick coat that obscures details will not save work. Keep a note of your primer colour because it affects how the finished blue looks.
Keep the shadows where you need them
Place your darker blue in panel separations, beneath overhanging armour, and other areas you want to recede. Work on one part at a time. If a shadow spreads further than intended, allow it to dry and restore the surrounding base colour.
For a squad, finish this stage on a small group before moving on. Choose a batch size you can comfortably complete rather than covering your desk with the whole army.
Separate raised highlights from edge highlights
Use the first lighter blue on a smaller area of the upper armour. Keep some basecoat visible. Then use your lightest blue more sparingly on selected edges, corners, and focal points. A neat, restrained highlight usually reads more clearly than making every edge equally bright.
On an exposed edge, try the side of the brush with a light touch. For an interior line, use a controlled point and brace your hands. If a highlight becomes too wide, tidy either side with the base colour rather than adding more pale paint.
Fix the common problems
| What you see | What to try next |
|---|---|
| Raised brush marks | Test a thinner mix and avoid working over paint as it dries. |
| Paint flooding a recess | Reduce the brush load and test the mix before continuing. |
| Highlights that look too pale | Restore more midtone around them and reserve the brightest colour for smaller accents. |
| A squad with inconsistent blues | Use the same primer and write down the order of paints and mixes. |
Make the next squad easier
Record the primer, paint names, where each layer went, and anything you would change. A photo under the same lamp is a useful reference for your next session. In MiniPaint AI, keep your painting notes with the recipe and use Desk Mode while you work.
Missing one bottle? Read the Citadel-to-Vallejo conversion guide before substituting. If speed matters more than extra blending, compare speedpainting and glazing.